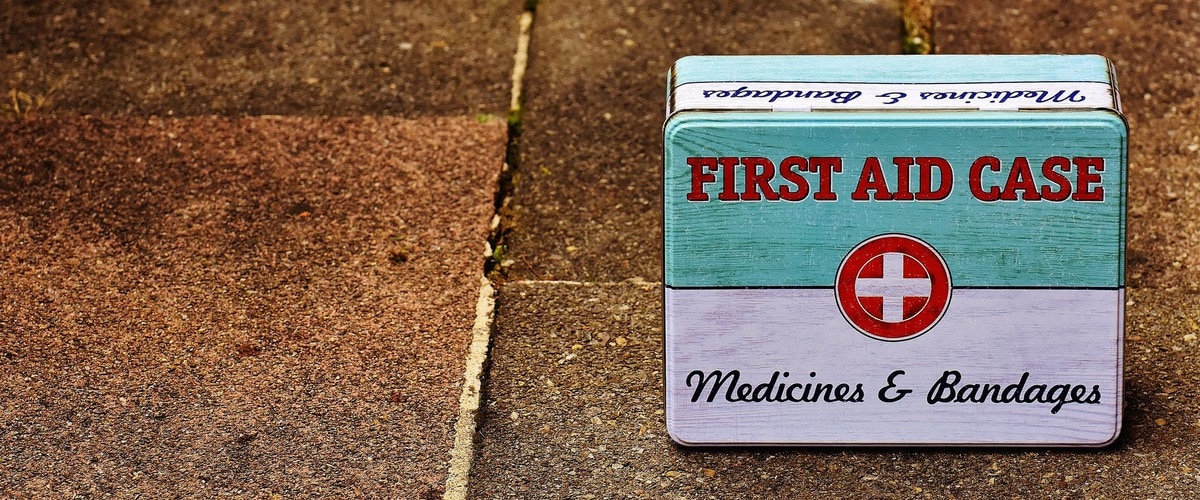
Not many people are aware of the importance of thorough preparation for minor injuries at home, or at least not enough, and you may be one of those people. The home is the most common place for accidents, followed by the workplace. In Europe, 3.5%-15.8% of accidents occurred at home in 2014. As it’s important to be prepared for these minor injuries and illnesses, having a complete home first aid kit is key to home safety. So what should a first aid kit list for your home?
Top Rated Shopping List App
Share And Synchronize An Unlimited Number
Of Lists With Others Instantly and Easy
Specific Injuries
Equipment and Instruments
Begin with your own safety and be prepared to put on protective equipment first, starting with gloves. It’s important to include these on your first aid kit list to prevent cross contamination while cleaning a wound or putting on a dressing, as hand sanitizer is not always protective enough. Buy more than one pair so you’ll always have some handy.
? TIP
Choose gloves made of nitryle or vinyl. Many people are allergic to latex gloves, so it’s better not to put them into a first aid kit.
Other pieces of equipment that may help protect you and the patient from diseases are:
- Goggles or other eye protection – to protect from potential bodily fluids entering through your eyes
- Surgical mask – to protect from airborne infection transmission
Equipment that should always be in on your home’s first aid kit list is a thermometer. This can be a digital, temporal artery, or mercury thermometers. However, mercury ones are no longer recommended as when they break toxic mercury may escape.
So which thermometer to choose?
- Digital thermometer – safe for adults, newborns, infants, and children. The temperature can be measured from the mouth, armpit, or rectum. The time for temperature is also short: around a minute or even less.
- Temporal artery thermometers – appropriate for adults, children, and infants older than 3 months. Taking temperature is quick and the most accurate. It’s often in a form of a forehead thermometer.
When the temperature of a victim is too low, a thermal blanket, also known as emergency, first aid, safety, or space blanket, will reduce the loss of body heat. It’s also lightweight and very small in size when folded.
Depending on the injury, you may need some instruments to help you to treat the wound:
- Tweezers – to remove any small pieces of glass, splinters, or stings that are stuck in the wound
- Cotton swab – to help to clean the wound and to help apply any treatment
- Penlight – to examine eyes, ears, and throat, and to help give treatment in dark or low light areas
Home First Aid Kit List: Equipment and Instruments
- Gloves
- Tweezers
- Cotton swab
- Penlight
- Thermometer
- Thermal blanket
- Goggles
- Surgical mask
Specific injuries
Cuts and Scrapes
On every home first aid kit list should always be products to help treat small cuts and scrapes.
First make sure you’re wearing gloves, or washed your hands thoroughly with water and soap or hand sanitizer. Then clean the wound with running water.
Additionally, you may want to use hydrogen peroxide to prevent infection and to help remove dead skin from the wound. It works best in case of minor cuts, scrapes, or even burns. But it shouldn’t be used for deep wounds, serious burns, or animal or human bites. Instead of hydrogen peroxide, you may choose a saline wound wash. For these to be most effective, you need to remember to clean the wound with water before using these antiseptics.
Once you’ve cleaned and treated the wound you need to dress it.
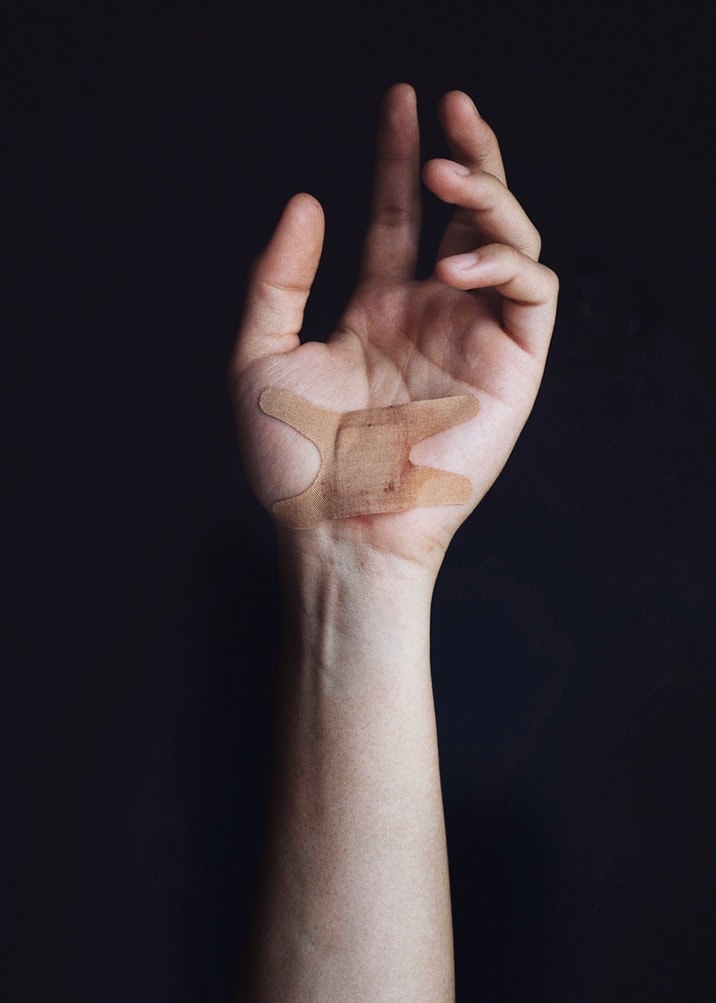
For smaller cuts and scrapes, you can use an adhesive bandage. Adhesive bandage multipacks are a good choice as they consists of a variety of dressings in different shapes and sizes for use on different body parts. But you may also want to get adhesives bandages for specific locations of the body, such as for knees, elbows, and even knuckles and fingertips.
Your family members or the guests that visit your home may need a specific kind of adhesive bandage, depending on the situation and whether they have any allergies to the materials some bandages are made of. To make sure there’s plenty of what is best for your family or visitors, have as many varieties as you can:
- Waterproof
- For children
- Extra flexible
- Hypoallergenic
- Sensitive
But what about which types of materials you should use? Plastic, fabric, or silicone?
- Plastic – easily applicable but are most suited for flat and hairless areas on the body
- Fabric – these are elastic and stretchable but the outer surface of these get dirty pretty quickly
- Silicone – best for painless removal, and manufacturers claim that silicone bandages also stick to skin despite repositioning
? TIP
You may want to have blue adhesive bandages, which are used in restaurants and food processing factories. They use a strong adhesive, are water resistant, and suitable for handling food. Additionally, their color means they’re easy to find should they come off.
Instead of adhesive bandages in the form of patches, there are other alternatives:
- Woven elastic bandage – for larger and more flexible areas of the body, such as a wrist or an elbow
- Butterfly closure bandage – for deeper but smaller wounds
- Spray plaster – for areas on the body which are difficult to reach. The sprayed-on film is flexible, transparent, and waterproof. It’s suitable only for minor cuts and grazes.
For woven elastic bandage, bandage scissors are needed. These have blades that are positioned at a 45 degrees angle, making it easier to safely cut bandages on a patient and not leave any marks on the skin or create any further injuries. This is because their tips are blunt and wide so they can slide across the skin without causing harm when cutting the bandage.
Home First Aid Kit List: Cuts and Scrapes
- Hand sanitizer
- Hydrogen peroxide or saline wound wash
- Adhesive bandages
- Woven elastic bandage
- Butterfly closure bandage
- Spray plaster
- Bandage scissors

Bleeding
What do you do when someone is bleeding? The first step you need to follow is to identify the severity of bleeding. You should call your country’s emergency number if:
- There’s an object in the wound
- The bleeding is severe
- There’s an abdominal or chest wound
- The bleeding continues for more than 10 minutes after treatment
- There is bleeding from the head, neck, or torso
Otherwise, use accessories in your well-stock aid kit to stop the bleeding.
Put on gloves first to prevent the injured person and yourself from catching potential diseases. Use a clean dressing pad or dressing to apply pressure to the wound. Continue to apply pressure until the bleeding stops. You may need another pad to press down on the wound and absorb blood if bleeding doesn’t stop quickly.
If it stops, you’ll need to dress it with a sterile gauze dressing and a bandage. To secure the dressing, use medical grade tape and small scissors.
Home First Aid Kit List: Bleeding
- Dressing pad or dressing
- Gauze dressing
- Bandage
- Medical grade tape
- Small scissors
 Burns & Scalds
What to do when someone burns or scalds themselves?
The most basic and the best form of first aid for these is to treat it with warm (around 37℃/98.6℉) running water over it for up to 20 minutes.
Why warm and not cold?
A scientific study led by a plastic surgeon in Switzerland, found that warm water effectively cools the burn whilst preventing the most amount of tissue damage compared to cool water (17℃/62.6℉). Warm water enabled the affected area to be cooled whilst ensuring the blood flow in the area isn’t compromised, promoting better healing.
You should never use ice to treat a burn or a scold. This is because it can cause more damage to the skin tissue and even cause frostbite or hypothermia.
Alternatively, you can use a cooling gel.
After initial treatment of the burn, you then need to cover it with a dressing.
If you’ve not got a dressing to hand, or if the burn covers too large an area for a dressing, a great alternative is cling film. This should be laid loosely on the burn rather than wrapped around the limb. Then secure the cling film on the wound with a medical grade tape. Its advantages are that it’s waterproof, elastic, and transparent so that you can see the burn’s condition and healing process. It also keeps the moist which not only reduces pain but also helps to heal the wound.
You may use a clean sterile cotton sheet, if you don’t have access to cling film.
Note Everything Down in Listonic Shopping List App
- The Highest Rated Shopping List App
- Always with you on any device
- Buy exactly what you planned
- Make and share shopping lists together
- See items automatically grouped into categories
To relieve the pain from a burn, take paracetamol or ibuprofen.
After treating, can you use a topical cream or an oily lotion?
Only water-based moisturizing cream is recommended as other cream may contribute to skin dryness, which is detrimental for the healing process. But this should only be applied on non-blistered skin. In the first months after the burn, oily lotions are not recommended as they are not absorbed easily into the skin, but they may relieve itching later on.
Home First Aid Kit List: Burns & Scalds
- Cooling gel
- Cling film
- Medical grade tape
- Cotton sheet
- Paracetamol or ibuprofen
Sprain & Strain
Most of these can be treated at home without consulting a specialist. All you need to do is put some a cold compress on the affected area and keep it elevated to help reduce the swelling.
For supporting the sprained elbow, have a triangular bandage in your emergency kit.
To do so:
- Place the longest edge of the triangular bandage underneath the harmed arm
- Tie the two ends of the bandage across the opposite shoulder and the other two across the harmed shoulder
- Make sure that the bandage is not too tight and not too loose
- Check the circulation in victim’s fingers
To secure a torn ligament or a sprained joint, you should wrap a crepe rolled bandage around the affected area and secure it with safety pins. Make sure that the size of the bandage is large enough to cover the full area of the sprain as these come in different sizes for different body parts. Remember that the bandage can’t be applied too firmly or too loosely.
To apply a rolled bandage properly, the rolled part of it should always be placed above the injury and the unrolled one below the injury. Each layer should be covered by one-third of the new one.
Home First Aid Kit List: Sprains & Strains
- Triangular bandage
- Crepe rolled bandage
- Safety pins
Eye Injuries
Eye injuries can be very serious. If you’re in any doubt about the severity of an eye injury you should seek emergency help as soon as possible. Injuries that definitely require immediate attention are any injuries where:
- A foreign object has pierced the eyeball
- There is a significant loss of vision
- There is clouding of part of the eyeball
If you’re confident that an eye injury is not severe, you may be able to treat some injuries at home.
One of the most common injuries is where a tiny foreign object has caused a scratch to the surface of the eye, also known as a corneal abrasion. These can be objects in the eye like sand or dust. Symptoms of this include:
- A feeling of pressure or discomfort
- A sensation that something is in your eye
- Eye pain
- Extreme tearing
- Pain when you look at light
- Excessive blinking
- Redness or a bloodshot eye
If you’re experiencing any of these symptoms you must not rub your eye, no matter how tempting it is. This can cause further or more severe scratches to the surface of your eye. In short, it can make it a lot worse.
First check the eye, using a penlight to see if there is a foreign object in the eye. If there is, you will need to do is flush out the eye with a sterile eye wash or warm running water.
Once you’re confident that the foreign object has been removed, simply treat any discomfort with paracetamol or ibuprofen. If symptoms become worse after treatment, seek immediate medical attention.
What you shouldn’t do is put an eye patch over the affected eye. Why? Because bacteria love dark and warm places, and this could cause the eye to become infected.
If any chemicals have been splashed into your eye, you should immediately flush it with a sterile eye wash or warm running water for 15 minutes. Then you must seek immediate medical attention. If you have the container of the chemical you got in your eye, try to bring it with you so medical staff are aware of exactly what chemical they’re dealing with.
For a black eye you’ll only need an ice pack to apply to the affected area to reduce swelling, and take painkillers. However, you shouldn’t take aspirin as it may increase the bleeding.
Another minor eye injury you might experience is slight leakage of blood from the eye, technically known as subconjunctival hemorrhaging. Whilst these can look a little frightening, they’re usually painless and should not result in any loss of vision. Unfortunately, there is no treatment for these, and it may take a couple of weeks to heal on its own. However, if you are concerned, seek medical attention.
Home First Aid Kit List: Eye Injuries
- Penlight
- Sterile eye wash
- Paracetamol or ibuprofen

Stings and Bites
According to statistics, more than 10 million people visited hospitals to report non-canine bites and stings between 2001-2010. 67.5% of these were caused by insects.
Stings and bites from many insects, arachnids, and jellyfish won’t be life-threatening, unless you’re allergic to any of them. But they still require some treatment.
What’s important is that you should get rid of the stinger and and the venom. Remove the stinger removal with a straightedge object or tweezers. Then clean the sting or bite with water and soap to wash out as much of the venom as possible.
Then you’ll need:
- Antiseptic – to prevent infection from germs in the venom
- Hydrocortisone cream or calamine lotion – to relieve inflammation
- Dressing or bandage – to protect the sting or bite area
- Cold compress – to reduce swelling
- Antihistamine – to reducing swelling, itching, and hives. It provides relief from mild allergic reactions, too.
- Aspirin – to relieve pain
Remember not to ignore bad and severe symptoms of insect stings or bites and seek medical attention immediately should any of these occur:
- Fever
- Difficulty breathing and/or rapid heartbeat
- Nausea and vomiting
- Swelling of the lips and throat
- Confusion
- Loss of consciousness
First Aid Kit List: Stings and Bites
- Tweezers
- Soap
- Antiseptic
- Hydrocortisone cream or calamine lotion
- Antihistamine
- Aspirin
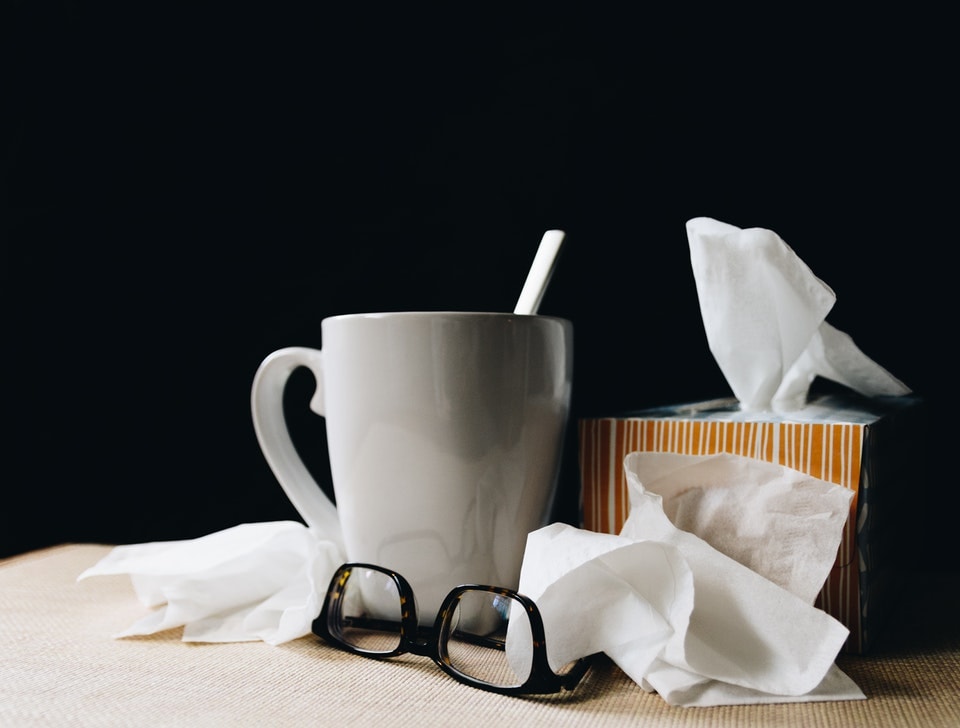 Colds and Flu
These are very common illnesses so it’s important to always be ready for them. At home, you want to choose medications to relieve the symptoms of cold or flu.
So, what should you have to hand?
You can use decongestants in tablet form to help widen the nasal passage to make it easier to breath. These shouldn’t be used for more than 3 days.
Nasal sprays are effective for treating nasal congestion. You may choose one of two types:
- Saline sprays – to loosen up the mucus in your nose
- Steroid nasal sprays – to help widen the nasal passage but also prevent sinus infection
If you want to get rid of a cough or help with a sore throat, you’ll need benzydamine in the form of spray or mouth rinse. Cough lozenges may be preferred by some people but they may not be as effective as they claim to be.
Aspirin, paracetamol or ibuprofen can be used to bring down the fever and treat pain and inflammation. You should be cautious about giving aspirin to children and teenagers as it’s associated with Reye’s syndrome in minors, which can be lethal.
![]()
Share your shopping lists together
Home First Aid Kit List: Colds and Flu
- Nasal spray
- Benzydamine spray or mouth rinse
- Aspirin, paracetamol, or ibuprofen

Gastric Issues
In case of these, make sure you have some loperamide or diphenoxylate on your first aid kit list to help control diarrhea.
If diarrhea is severe, it’s vital to replenish fluids in your body. But drinking plain water is not effective here. You will also need to drinking plenty of electrolytes to restore sodium and potassium lost through the diarrhea. That’s why you should also include plenty of oral rehydration solution as part of your first aid supplies.
Home First Aid Kit List: Gastric Issues
- Loperamide or diphenoxylate
- Oral rehydration solution
What Do You Need to Remember When Making a Home First Aid Kit List?
Buying and gathering all necessary first aid products is not everything. You’ll need to pack it all in a proper container. Use a metal or plastic box with a handle that is easy to carry. It’s best when it has lots of compartments for well-organized storage.
? TIP
Use a pill box for putting together a mini first aid kit to carry in a bag. Adjust the compartment sizes to fit adhesive bandages or small scissors.
Don’t forget:
- Check the expiration dates of all first aid kit contents every month and replace the expired medication and accessories with the new ones
- Always refill your home first aid kit after you use any product from it. Don’t wait till you need to use it again
- Keep your home first aid kit in an easily accessible place but out of reach of small children
- Take your emergency box with you when you travel. Pack a mini version of necessities whilst travelling by plane, although remember to ensure you remove scissors and any other sharp objects, and that fluids are less than 200ml
What do you think is the most important item to keep in a home first aid kit? Is there anything here that surprised you, like using warm water to treat a burn or scold? Let us know in the comments.
Take care!
Home First Aid Kit List
Home First Aid Kit List: Equipment and Instruments
- Gloves
- Tweezers
- Cotton swab
- Penlight
- Thermometer
- Thermal blanket
- Goggles
- Surgical mask
Home First Aid Kit List: Cuts and Scrapes
- Hand sanitizer
- Hydrogen peroxide or saline wound wash
- Adhesive bandages
- Woven elastic bandage
- Butterfly closure bandage
- Spray plaster
- Bandage scissors
Home First Aid Kit List: Bleeding
- Dressing pad or dressing
- Gauze dressing
- Bandage
- Medical grade tape
- Small scissors
Home First Aid Kit List: Burns & Scalds
- Cooling gel
- Cling film
- Medical grade tape
- Cotton sheet
- Paracetamol or ibuprofen
Home First Aid Kit List: Sprains & Strains
- Triangular bandage
- Crepe rolled bandage
- Safety pins
Home First Aid Kit List: Eye Injuries
- Penlight
- Sterile eye wash
- Paracetamol or ibuprofen
Home First Aid Kit List: Stings and Bites
- Tweezers
- Soap
- Antiseptic
- Hydrocortisone cream or calamine lotion
- Antihistamine
- Aspirin
Home First Aid Kit List: Colds and Flu
- Nasal spray
- Benzydamine spray or mouth rinse
- Aspirin, paracetamol, or ibuprofen
Home First Aid Kit List: Gastric Issues
- Loperamide or diphenoxylate
- Oral rehydration solution